Thursday, November 26, 2009

Happy Thanksgiving!


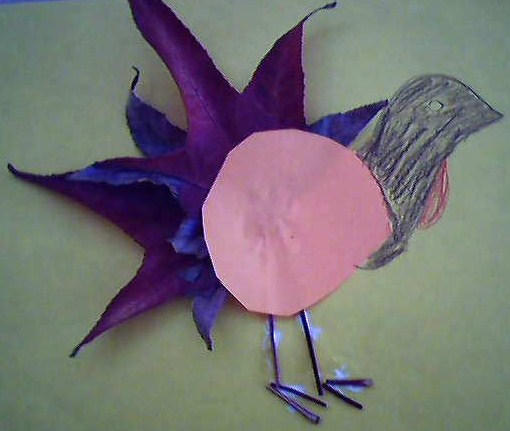
Here's a turkey with a tail made from hands. The hands are traced with thumb and fingers all together and then cut out and glued on paper as a fan. Just add a circle for a body and a head, and you're set for Thanksgiving.
Have a great holiday!

Tuesday, November 24, 2009

Pinecone Fall Leaf Turkey


This turkey is made from a pinecone with fall leaves glued on for tail feathers. Use as many leaves as the turkey tail needs to be full. The ones that are a little fresher and not so crunchy won't fall apart as easily as the crunchy ones.

Draw a head, cut it out, and find a niche in the pinecone to glue it into. Tacky glue is used because it sticks pretty fast. Gluing on the leaves and head can be frustrating if the glue is too runny.

Younger children will need a lot of help from an adult or a helpful older child. The reward may be using the sweet pinecone fall leaf turkey for a centerpiece on the Thanksgiving table.

Fall Leaf Turkey


Here's a turkey made from 2 fall leaves.

Glue the leaves on piece of paper with tacky glue for a quicker stick. Tape could also be used.

Glue or tape an orange circle on top of the leaves.

Trim the leaf stems and use the trimmings for feet. Put a little glue under the legs and feet to fasten.

Draw a head and color.

A finished fall leaf turkey.

Monday, November 23, 2009

Welcome!

Welcome to Children's Cheap Crafts! Our family loves to create new crafts from what we already have around the house, so I thought I'd share some of those ideas. Even if you don't use any of the crafts here, my hope is that we might have inspired your own ideas about what to do with what you have around your house.

I'm using this as my main blog for Cheap Children's Crafts, but have also created blogs focusing on crafts for the holidays. Right now I'm focusing on Cheap Children's Thanksgiving Crafts and Cheap Children's Christmas Crafts. You might notice that the Christmas Crafts are more plentiful than the Thanksgiving ones, but I have some ideas for the turkey ones to be catching up real soon!

I'm also posting links in the sidebar to craft how tos I've written that don't fall into any holiday catagries.

Would love to hear about your craft inspirations as well!

Happy Crafting!

Cheap Children's Christmas Crafts

Cheap Children's Thanksgiving Crafts

Twisted Paper Candy Canes

Twisted paper candy canes can be made with just a piece of paper, a crayon and glue. Candy canes are so many colors and flavors these days that any color paper or crayon will do. Younger children may want adults to make the candy canes for them to glue or tape to their own cards or other decorations. Older children may like to do the craft themselves.

Cut about an inch and a half wide strip of paper. We'll use white for our example. Twist the paper into a shape of a candy cane much as you would wring a sponge.

From the same sheet of paper your strip was cut, color about 1/2 inch of red along the edge. Cut off this edge to form a single thin strip of red to wrap around the twisted white cane.

I put some tacky white glue on a plastic lid and then used a toothpick to spread the glue on the back of the red strip of paper. I like tacky glue for this project because it sticks quickly and doesn't let the strip slide around as much as thinner white glues.

Wind the red strip diagonally around the white cane. And your twisted paper candy cane is finished. All that needs to be done is to roll the glue into balls off your hands:)

Happy twisting!

Saturday, November 21, 2009

Pumpkin Place Cards


Pumpkin place cards can be a fun way for children to help with preparations for Thanksgiving dinner. Names of the dinner guests could be written on the pumpkins or what each person is thankful for.

The pumpkins could be kept by the child's bed after a loved one writes on it something like, "Mommy and daddy are thankful for Johny."

The pumpkins could also be a place for children's favorite pictures to be glued.

Friday, November 20, 2009

Some Salt Crafts and Another Set of Binoculars


Here's some salt sprinkled pictures.

One is Santa's hat painted with non-toxic red poster paint and sprinkled with salt. A line of glue and a ball of glue are added for the salt to stick more to the trim and the puff at the end of the hat.

The other picture is a little penguin under icicles on yellow paper. White and red non-toxic poster paints were used. Before the paint was dry, the salt was sprinkled on. Okay, so the salt sprinkles itself around the house as well as on the pictures but preschoolers and early elementary school children may enjoy sprinkling the salt on the paint and making their own salt paintings. At least salt doesn't attract ants like sugar:)

These were follow up crafts to use the salt left over from Santa Claus Spy Glasses. They are a different style Christmas binocular. Here's the link if you'd like.

How to Make Santa Claus Spy Glasses

Happy crafting!

Thursday, November 19, 2009

Candy Cane Binoculars

Here's a simple set of candy cane stripped
binoculars that little ones can look for Santa through. Perhaps the binoculars can even help to have x-ray vision into the wrapped presents under the tree;)

As you can see from the pictures, the binoculars do not have to be perfectly done. With children sometimes the most important part of the craft is making it themselves. An older child could help a younger child completely make these binoculars without help from an adult ~~but of course with adult supervision.

Here's all the supplies needed: One piece of white paper, a red crayon, children's safety scissors, and tape.
Fold a plain 8 X 11 piece of white paper in half.


Open up the paper, and cut on the
fold, so there's two pieces for the
two binocular tubes.


Draw diagonal lines across the two
pieces of paper with red crayons, and color in stripes.
If doing the craft with a young child
the coloring part may be what he/she would like to do.

Leave a white stripe in between each colored red stripe.


When the coloring is done, it is time to roll
each piece of paper into a binocular tube.

Fasten each roll with tape.


The final step is to tape the two rolls
together for a finished set of candy cane binoculars.

Have fun watching for Santa Claus and examining presents!