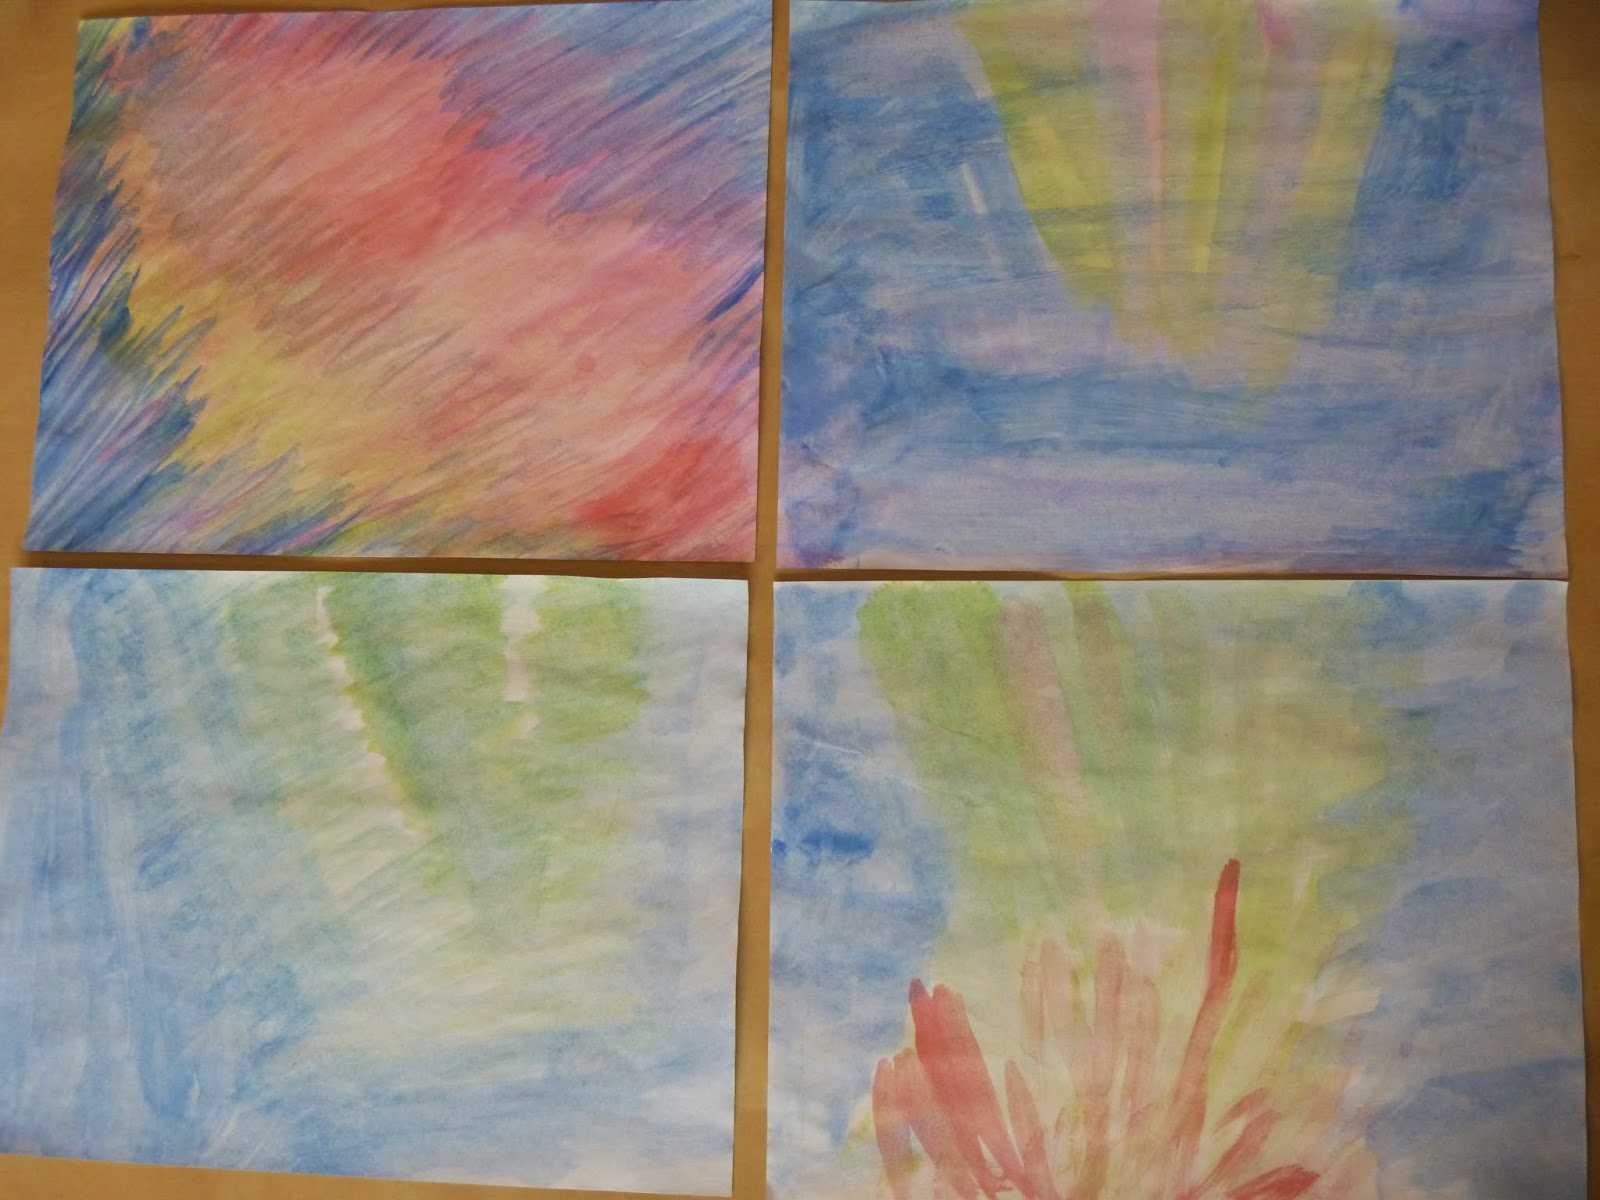
These trees are the forth out of series of five, so here they are: the snowy pine trees. This is the watercolor background I started with.
Northern Lights Background
I thought the green pine trees would be a nice contrast to the red shooting up from the middle of the sky.
Set up of the pine trees
Having the tree bursting out of the boundary of the sky, I thought, gave the feel of their nearness bringing us into the picture.
I used:
white printer paper for the snow
brown construction paper for the tree trunks
green construction paper for the branches
one cotton ball for the snow on the branches
I cut out
the snow
a short thin brown rectangle for the little pine tree's trunk
a larger, thicker brown rectangle for the larger pine tree's trunk
Snow and Tree Trunks
Don't do any gluing yet, so you can move the pieces if you want.
*****
Making the Large Pine Tree Branches
Take a sheet of green construction paper. Place it in front of you lengthwise and fold the bottom right hand corner up to the top edge of the paper making a triangle.
First Fold: Making a Triangle
Cut off the extra paper not part of the triangle.
Cut of the Extra
Fold the triangle a second time bringing the bottom left corner up to the top right corner.
Second Fold
Cut along each fold so that you have four very large triangles.
Four very Large Triangles
Take the top two triangles and fold the bottom corner up to the top.
Two very Large Triangles, Folded
Cut along the fold of these triangles so they become four large instead of very large triangles.
Cut along the Fold
Now you have the branches of the large pine tree.
Place these large triangle--branches--on to the large tree trunk.
Placing Branches on the Large Tree--One
Placing Branches on the Large Tree--Two
Placing Branches on the Large Tree--Three
Placing Branches on the Large Tree--Four
So now we have the large pine tree in it's place but not glued on yet.
*****
Next is the Branches for the Little Pine Tree
One very large triangle will become all of the little pine branches.
One Very Large Triangle
Fold it in half.
Fold the Very Large Triangle in Half
And then again.
Fold the Very Large Triangle in Half a Second Time
Cut along the folds, and you'll have four small triangles.
Four Small Triangles for the Small Pine Tree Branches
Place the little pine tree's branches on the same way you did for the large pine tree.
Little Pine Tree's Branches Placed On
Now you can glue all these pieces on in the same order we created them:
snow
tree trunks
branches, from the bottom up
I like to use a cotton swab dipped into a small puddle of glue and sparingly applying the glue with the swab to the edges of each piece.
Apply a thin line of glue along the sides and bottom edges of the snow.
I didn't put glue along the top edge of the snow, so I could tuck the tree trunks in more easily.
I finally decided this was easier than loosely gluing the top edge of the snow as I did in the other aurora borealis watercolor crafts in this series.
Putting Glue on the Trunks
Starting to Glue on the Branches
Oops--I put glue on the corner of the branch hanging off the edge of the background.
Next time I won't put glue on that corner.
Almost finished gluing on the Branches
Trees Glued On
Now that the trees are glued on, we can stretch out a little cotton for the snow.
First put a line of glue along the branch, and then put the stretched cotton on top.
Apply Glue for Snowy Branches
Stretching the Cotton over the Glue for the Snowy Branches
This little house could belong to one of Santa's elves and so turn into a Christmas craft, or it could simply celebrate such beautiful and unique natural phenomena we have on this earth of ours.
After looking at pictures of the aurora borealis in post cards I have from Alaska put out by Accent Alaska and in Donna Walsh Shepherd's book of Light Shows in the Night Sky Auroras, I attempted similar skies in watercolor.
If you check out www.accentalaska.com and search northern lights, you'll find impressive photos of auroras so fabulous you won't want to take second look at my creative interpretations here. I myself felt like throwing them out except that the beauty of watercolor skies is that the foreground can make all the difference and complement the colors as to make attractive what at first may have seemed to have very little potential. Above, again, then is the humble beginnings of what turned out to be future crafts.
Below is the background, not pictured above, I chose for the little house in the aurora borealis craft.
Little House background
Watercolor skies are great crafts for all ages and abilities as it's all in what you do with it, and how you decide to view it.
The northern lights are so varied, that each artist has so much room to let his or her imagination run wild. Donna Walsh Shepherd's little book is rich in essential facts about this phenomenon and it is from her that I learned southern and northern lights can reflect each other. It's a book older children could read themselves. For me it's a quick read with enough detail to accurately help me understand these unique lights.
I love combining learning and crafting.
Now back to the craft.
Materials:
2 sheets of letter size printer paper
1 sheet of red construction paper
1 sheet of brown construction paper
1 sheet of yellow construction paper
1 cotton ball
watercolor paints and brush
glue
scissors
and a ruler if you want straight lines ( I don't always use one.)
This is a craft that I like to do a lot of estimating and playing with pieces and placement.
I've put my little house in the snow. Since I used white 8 1/2 x 11 letter size printer paper for the background, it was easy to take another sheet and to cut a wavy line about 2 inches up from the bottom for the snow.
Snow on the ground
It fits nicely along the bottom of the watercolor background.
Just place it --the snow-- on without gluing it yet.
For this craft, I like to cut out all the pieces first before gluing, so I can make adjustments as needed.
After cutting out the snow, I cut a square out of red construction paper about the size I wanted my house.
Red base of house
I tucked the square under the snow--again only placing on the background without gluing--to see if it was the size I wanted.
Next, I placed a piece of brown paper on the top of the red square and marked how large I wanted to make the triangle for the roof.
Brown triangle roof topping the red square
Then I cut out the door from brown paper and a knob from red paper, and put them both in their place.
Door and knob
Next I chose the windows to be yellow paper to give a warm glow for the inside. I also used a brown marker to add the look of wooden frames into the panes.
Windows with marker frames
Almost finished, I cut a small rectangle out of red construction paper.
Rectangle for the chimney
and tucked it into the top of the roof.
The chimney all tucked in
Last I stretched out a small portion of a cotton ball and tucked it into the top of the chimney for the smoke rising up out of the fire in the fireplace of the cozy little house.
Smoke out of the chimney
After I was happy with the size and placement of all the pieces, I glued them all on , putting a small puddle of glue on a scrap of paper and dipping a cotton swab into the glue to run across the edges of each piece of the picture.
The order I glued the pieces on is the same as the order I used to cut them out: 1. snow, 2. red base of house, 3. triangle of the roof, 4. door and knob, 5 windows, 6. chimney, 7. smoke.
Apply glue with a cotton swab to the back edges of the snow first
Glue on pieces in the same order as they were cut out
Since all the gluing is done at once, it's easy to tuck pieces under one another as long as you leave the edges loose. That is, don't smooth all the edges down after gluing them in place. Wait until all the pieces are exactly where you want them before smoothing all edges over and sealing them down.
Leave the edges loose to easily tuck under other pieces
To attach the chimney smoke, put the glue on the background instead of the cotton, so the cotton swab doesn't get stuck to the cotton smoke and tear it all apart.
Little House in a Watercolor Aurora Borealis Finished
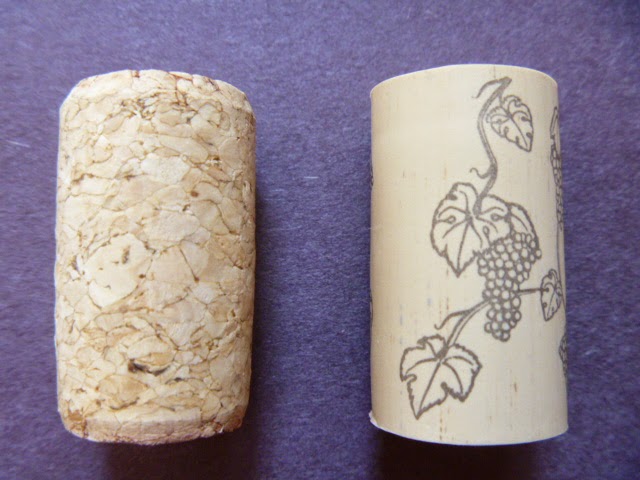
You can use either wine cork to create this little penguin, but if you would like one that stands up, a synthetic cork usually has a flatter bottom. So the penguin can stand wherever you place him, and create your own arctic scene.
You could also add an ornament hanger to the top and use the penguin to decorate your Christmas tree. In this case, using a natural cork is fine.
First I'll give instructions for cutting out all the pieces then put them all together.
Creating the shapes needed for the penguin
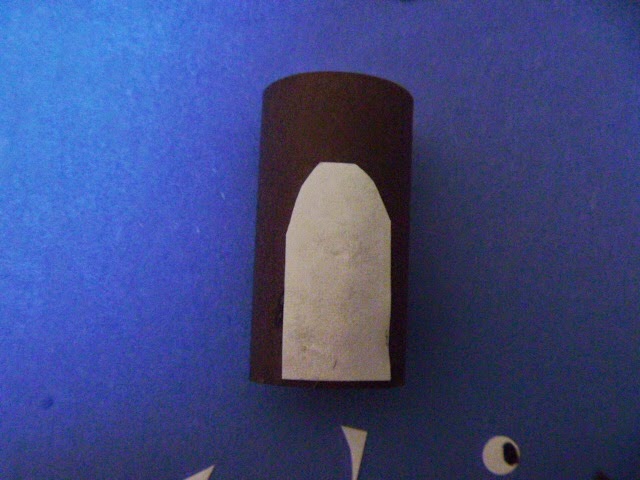
Penguin body
1. Cut a strip of black construction paper to wrap the cork with for the body--for this 7/8" diameter cork, I used a 4" x 2" rectangle.
Top of penguin head
2. On the black construction paper, trace around the cork for the top of the head.
Circle for top of head
3. Cut out the traced circle.
Penguin tummy
4. Using white paper, cut out a 1" x 1/2" rectangle for the tummy.
Penguin tummy-2
5. Cut off the top two corners of the white rectangle to round the top of the tummy.
Penguin wings
6. Trace the tummy shape onto black construction paper for the wings.
Note: Keep the white tummy piece with the same side up for both wings in case the edges get pencil marks on them. Then when
gluing on the tummy, make sure any pencil marks are on the
back. As you can see from my penguin, this is hindsight
wisdom.
Penguin wings-2
7. After cutting out the two black wings, place the flat ends up. The flat ends are the tops of the wings. Whereas, the flat end of the tummy is the bottom.
Penguin wings-3
8. Trim up both sides of each wing to make the tops of the wings narrower than the bottoms.
Penguin nose
9. Cut a very small triangle from orange construction paper for the nose.
Penguin eyes
10. Use a hole punch for the white circles of the eyes.
Penguin eyes-2
11. Use a black marker for the eye balls.
Putting the penguin together
Attaching the penguin body
12. Roll the black strip around the cork and tape together in back.
Gluing on the tummy
13. Glue tummy on front.
Gluing on face
14. Glue on eyes and nose by putting three little dots of glue above the tummy. The two for the eyes, across from each other, and the third for the nose at the top of the tummy.
Then carefully place one tiny eye then the other, and last the nose on the dot of glue reserved for each.
Gluing on the wings
15. Glue on the wings; one one each side.
Gluing on the top of the head
16. Glue on the top of the head.
If you'd like the penguin to be a Christmas ornament, poke a hole in the middle of the circle before gluing it on.
Through the small hole, thread a loop of yarn leaving the tails underneath to be included in gluing the top of the penguin head on.
This is your penguin to remind you of refreshing winter breezes in the heat of summer.
Here's the trailer from March of the Penguins. The Wine Cork Penguin Craft was modeled after the Emperor Penguin, but you can see from the trailer, I didn't include some details. Perhaps you'd like to create a more accurate penguin.
We've been watching Wild South America on HuluPlus. The Penguin Shores episode about the Humboldt penguin is amazing, and if you watch it, you'll notice differences in the penguins. Perhaps you would prefer to model your penguin after Humboldt penguins instead of Emperor penguins.