Showing posts with label Spring. Show all posts

Saturday, March 28, 2015

Easter Sunrise: Simple Paper and Watercolor Craft


Part I: The Background Sunrise Sky Colors

Paint Your Sunrise Watercolor

On a sheet of orange construction paper, paint any colors you'd like to be in your sunrise. 
I stuck to mostly red, yellow, orange, purple and violet. 
The streak I tried with dark blue became too dark.

Experiment adding more water to your brush for lighter colors or for blending colors. Then try using a drier brush for more vivid colors by dipping it in water, blotting it on a napkin before dipping it in the paint. 
After your orange paper is filled with colors, start on the sun. 

Part II: The Sun

Half Circle of Sun

Cut out a large half circle from yellow paper.

Sun Rays Cut Out

Fold another sheet of yellow construction paper in half and in half again.
Cut the shape of a long triangle for the rays.
You should have four sun rays.

Three Rays Plus Two Halves

Cut one of the four rays in half.


Tuck Rays Under Half Circle of Sun

Tuck the rays under the sun. You can tuck them in more, making them shorter, or leave them longer. Whatever looks best to you.

After you have all pieces placed where you want, glue them on.

Wednesday, March 25, 2015

Spring Bee: Simple Paper Craft

This spring bee was inspired by the picture Nice Bee in last week's post:
Noticing Bees for a Craft Later

Materials

Materials for Spring Bee

  • blue, yellow,  and black construction paper--one sheet each
  • wax paper
  • black crayon
  • scissors
  • glue

Stripes for a Bee Body

Draw an oval about four inches long on the yellow paper.
Color in some stripes.

Cut out Bee Body

Cut it out and place it on the blue paper.

Bee Head and Middle Body

Draw a circle next to the yellow striped oval.
Next to the circle, draw a head.
Color both in with a black crayon.

Bee Wings

Cut two long ovals out of wax paper.
Crunch them up, and then smooth out.
Place them on the bee.

Bee Eye

Cut a small oval out of the black paper for the bee eye.

Bee Legs and Antennae

Move aside one of the wings, so you can draw the legs and antennae.

Finished Bee

Glue on body, wings, and eye.

Friday, April 4, 2014

Watercolor Note Paper and Envelope

Watercolor Envelope and Note Paper
Even though the envelope isn't strong enough to be sent through the snail mail, it's fun to use to enclose your notes to family and friends for birthdays and other occasions.


1. Start the square for the envelope by folding up one corner of an 8 1/2" x 11" white sheet of printer paper.


2. Use the end of a paint brush to smooth over the crease

3. Put a little water along the crease with the paint brush.

4. Tear off the extra piece.

5. Now you have a square for the envelope.

6. Fold over the opposite corner about one forth inch short of the untorn edge.

7. Fold over this one forth inch extra and smooth crease.

8. Apply water to crease.
9. Tear off the thin strip and save it for later.


10. Open the corners to a diamond shape with the torn edges pointing up.

11. Fold the two side corners in to meet in the middle.
12. Fold the bottom corner up about an inch past the middle.

13. Crease the extra inch of corner and dampen the crease. 

14. Tear off the extra corner and save for later.

15. You are almost finished folding the envelope.

16. Bring the top corner down to close.
  • Set the envelope aside while you create two pieces of note paper.


17. Fold a second sheet of white paper in half.


18. Dampen the crease and tear in half.
19. Fold one of the halves in half again and dampen the crease.


20. Tear in half again and you'll have two pieces of note paper one forth the size of the original white sheet.


Ready to Paint


21. Unfold the envelope, turn it over, and set it next to the scraps and two piece of note paper.


22. Using a lot of water so the colors aren't too dark, paint similar designs on the envelope, scraps, and note paper. 


23. Keep a paper towel under your container of water, so you can wipe your brush on it. 
  • The painted paper towel will be used to decorate your note paper.


Let Dry!


24. After the paint is dry, cut two pieces of parchment paper about the size of the note paper.

25. Put one piece of parchment paper inside of the envelope.
  • The parchment paper keeps the glue from sticking the front of the envelope to the back.


26. Apply white glue with a paint brush along the sides and bottom of the envelope. You'll have a guesstimate a little where the glue if needed.

27. After the bottom of the envelope is glued together, use the second piece of parchment paper to tuck under the flap.
  • Now you can decide which closure you'd like. The strip or....


the corner.


28. After you choose your closure, fold the parchment paper up just far enough so you can mark it with a pen to indicate where to glue the closure on.
  • Glue on closure.


29. Cut two shapes of your choice out of the painted paper towel.

30. Glue these shapes on to the top of the note paper.


Note paper should fit in envelope without folding.

Wednesday, April 2, 2014

An Easter Daisy Craft

Easter Daisy


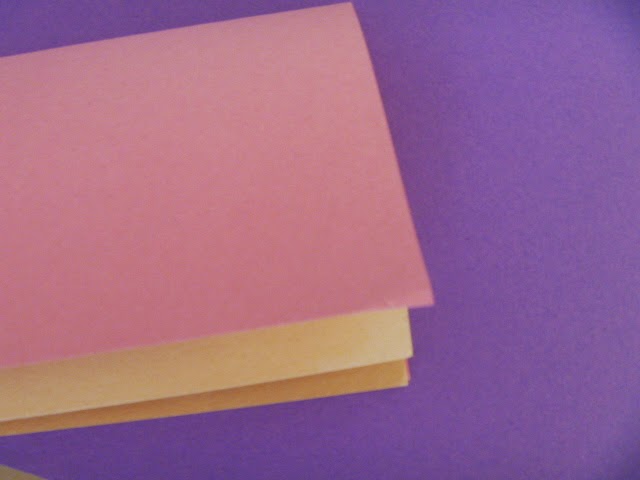
1. Take a sheet of pink and a sheet of cream colored construction paper.
  • Put them together and fold lengthwise.


2. Cut into one inch wide strips.


3. Cut along the fold lines to create four piles of strips each containing four strips.


4. Cut off the corners making each pile into long ovals for the petals of the daisy.


Just arrange the petals on the paper first. Don't glue yet.


5. Make a plus sign in the middle of a sheet of purple construction paper with four of the pink petals.

6. Take two cream color petals and fan them out like a hand of cards.

  • Place the fanned out cream petals over the first pink petal so it peeks out at the top.


7. Fan out the next two cream petals.

  • This time place the cream petals over the second pink petal.


8. Fan out the fifth and sixth cream petals.

  • Place these two over the third pink petal.


9. Fan the seventh and eighth cream petals.

  • Place these over the forth pink petal.


10. Now add the last four pink petals between the cream ones forming a kind of four point pink star.


  • Check out your daisy and adjust any petals you'd like to make them more evenly placed.


~~~~~~~~~~~~~~~~~~~

Now that we can see how the petals fit, we're ready to start gluing them on. 

We'll follow a sightly different order, so we can adjust nearby petals as needed before the glue dries.


11. Glue on the pink plus sign.


12. Glue on the first two fanned cream petals.

13. Glue on the second two fanned cream petals.


Here the order changes.
14.  Glue on the first pink petal of the star and then adjust (if needed) the cream petals before the glue dries.


15. Glue on the fifth and sixth cream petals.

16. Glue on the second pink petal of the star, and adjust the cream petals if needed.

17. Glue on the seventh and eighth cream petals.

18. Glue on the third pink petal of the star and adjust the cream petals if needed.

19. Glue on the last pink petal of the star and adjust other petals as needed if the glue hasn't dried yet.


Now a 2" x 2" square--or diamond